Please note: This article only applies if you have the Beaver Builder page builder installed on your website.
- When editing a page within Beaver Builder, you can add rows and columns by clicking on the “+” icon in the top-right corner of the page.
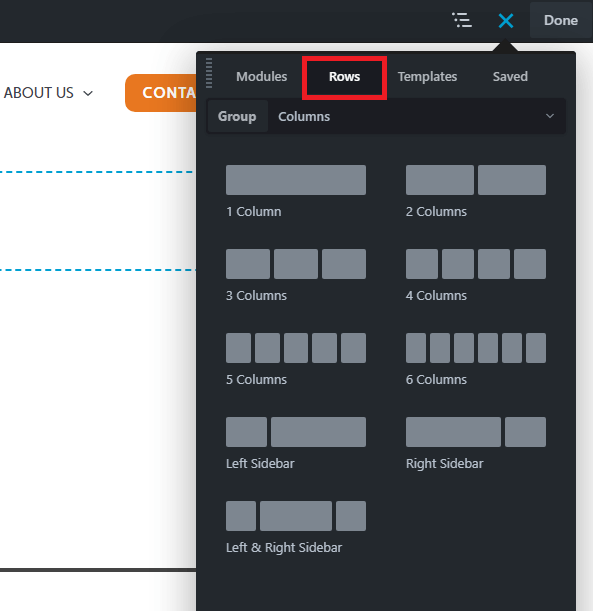
- Then choose the tab labelled “Rows“.
- Choose from a series of pre-built rows, which you can drag into your page design:
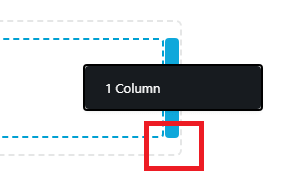
- You can add more columns to an existing row by dragging the “1 Column” block to the left or right edge of the existing column:
- Or you can change or remove columns by hovering over an existing area, then clicking on the column icon (indicated below) and choosing from the options:

- When using columns, we recommend clicking on the “P” letter on your keyboard to preview your design. This will allow you to check how your layout looks on tablets and smartphones too.
Should you need further assistance, Primary Image can help create new professional page designs for you. Please contact us with any requirements.
And for more info on adding blocks to your pages, please take a look at our guide – Adding new blocks using Beaver Builder.